Sharing is like !
We all have a affair or two that we place in a mess .
disregarding of the eccentric of investing , they all call for maintenance to foreclose wearable and bout or dent . Have you ever noticed dough on your hardwood trading floor and intellection of buying new hardwood floors ?

Image Credit: BHG
You should n’t .
Luckily , this clause has piles of information and steps for refinish hardwood level rather than going for new one .
We are here to salve you some coins .

refinish your hardwood floors is an excellent way of increasing the life of your floor . It is cheaper and easier compared to replacing your floor fully .
As a homeowner , always bear in mind that everything ask just a little maintenance to keep it run low . So do hardwood floor .
Refinishing your hardwood floor is giving it a reset . The finish is the upmost layer of a hardwood plank . It protects the factual wood from impairment .

Quickly, let us look at the reasons why you need to refinish hardwood floors.
Do You Prefer a Satin or Glossy Floor?
Glossy floors are known to appear attractive . However , satin floors have taken over in popularity , more so in homes with children .
Waxed floors are cognize to be tricky and are not durable compared to urethane - based coating .
Water - based polyurethan finishes are miserable VOC , meaning they are not harmful to inhale as opposed to their counterparts .
Moving fore , permit us look at the peter and equipment need to make the refinishing process a success .
Steps to Refinishing Hardwood Floors – What You’ll Need
Step by Step Guide to Refinishing Hardwood Floors
1. Use a hardwood cleaner to clean the floor
move out all the furniture from the way and strip it . Sweep the floor thoroughly using a piano - bristle ling . Using a broom with stiff bristles might cause scratch on the surface of the wood .
you could utilize a mixture of water supply and vinegar in the proportion of 10:1 part or spray using a hardwood story cleaner .
Then , wipe the story gently using a mop and ensure the doors and window are close so that dust is enclosed in the room .

Go over the whole level and cautiously look out for any nails or stuff that may be protruding from the floor , as they can damage or pull the sanding pad .
Hardwood floors where there is always high dealings will postulate deep and thoroughgoing cleansing . A scrub up simple machine can be used to get rid of the embedded dirt .
For area that are arduous to reach , use a vacuum to remove in floorboards and corner .
Pro Tip : Never use water system , steam , or other dry cleaners that emit suds or bubble to cleanse hardwood floors .
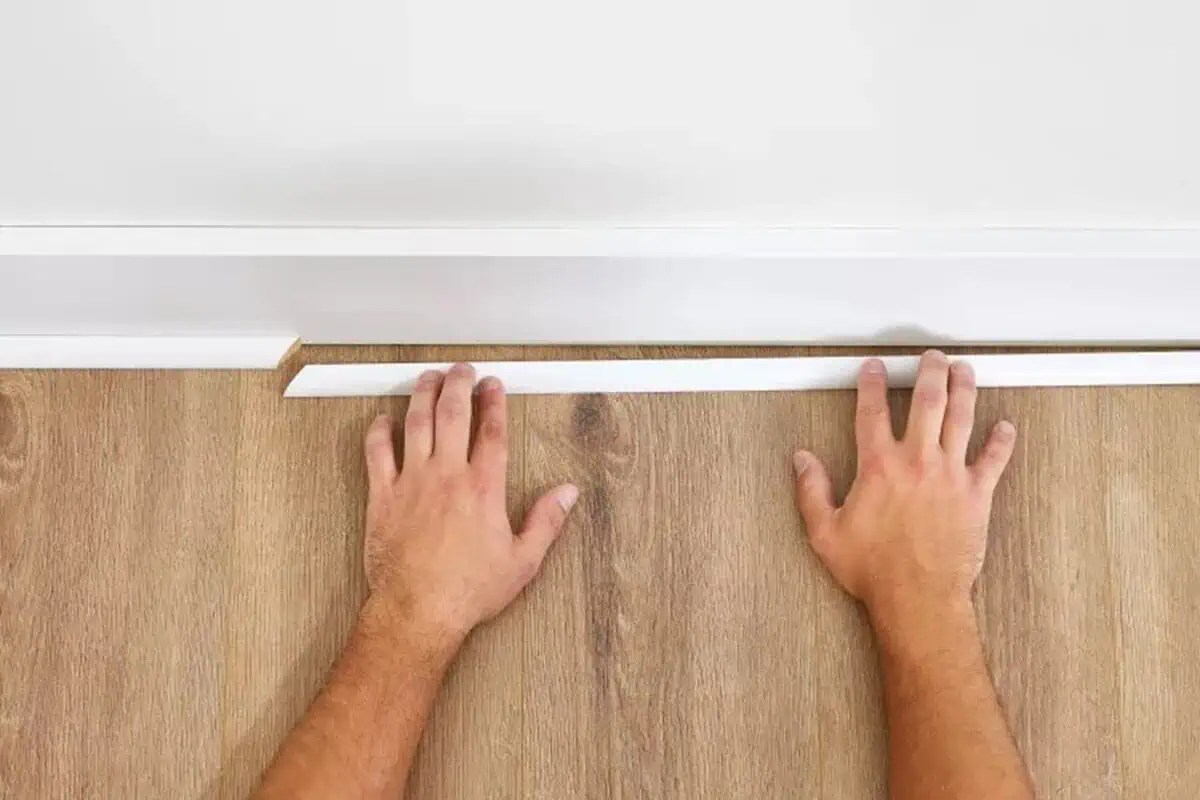
2. Remove the shoe base molding
Image Credit : BHG
This is the mould impound where the wall and the floor usually contact . It is also denote to as quarter - round of golf moulding .
Gently move out it , making sure that nothing break . Guard your baseboards using a patch of scrap Mrs. Henry Wood , and then commence by using a crowbar bar to pull out the brake shoe base molding . To make it simple , label all the piece of forest , as it will make the whole process smooth when you are done rarify the wood .

However , if there is n’t any base molding , move to step 3 .
3. Fix creaks and squeaks
cautiously check your base for any idle boards , creaks , or squeaks .
Take your finishing nails ( rather 8d ) and forge them into the floor joist , making sure no nails remain protruding .
Take your wood putty and take all the holes , slither the putty knife through the Sir Henry Joseph Wood .
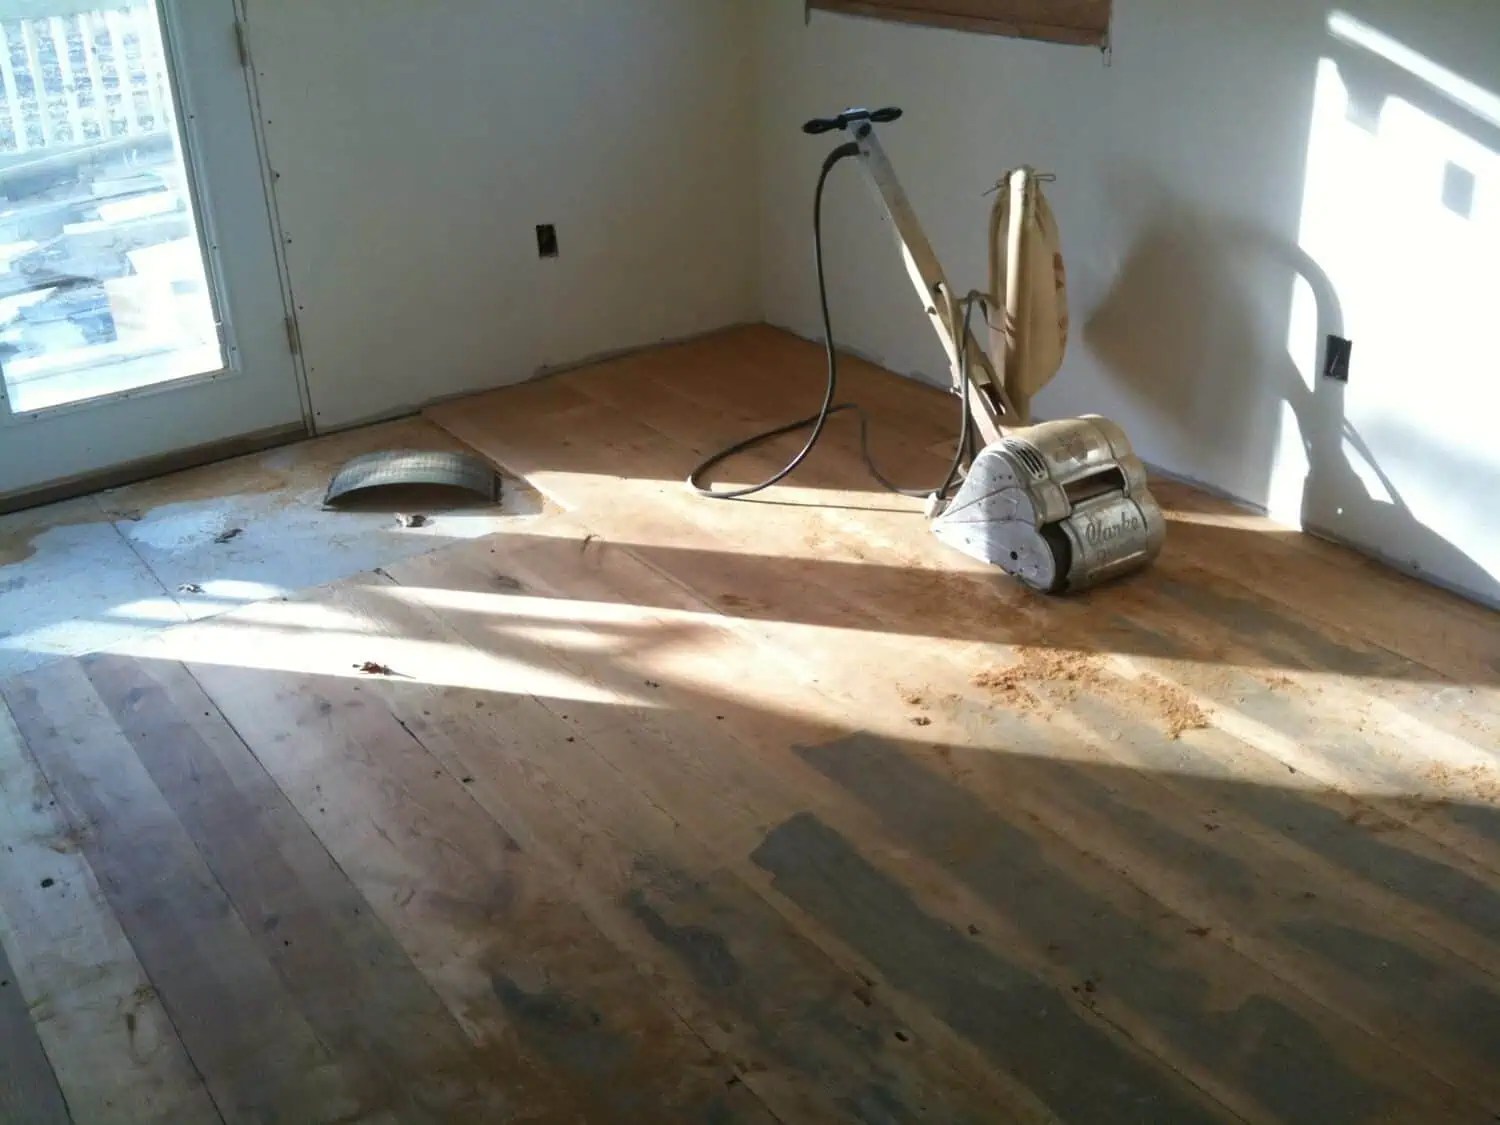
4. Do a rough sanding of the floors
Immediately after the wood putty dries , do a unsmooth sanding of the storey using a tympan sander . ascertain you have your detritus mask on .
Health and safety are important !
Ensure you replace the abrasive belt on the drum drum sander every 2502 ft . Begin by using a 40 guts sandpaper belt , then slow down to 60 grit , be by 80 grit , and finally 100 grit emery paper .
For the best results , begin with rocky sandpaper as you move up and finish with smooth emery paper . This level enable you to do away with any stains and scratches on the floors .
As you go , you will mark the old finish move around into pulverisation , thus you will easily see the parts you have breed .
5. Vacuum clean between sands
It is very important to sail and vacuum between the Sand to do forth with any debris or debris that might have settled between the baseboards . This is also a way of preventing scratches .
Put a clean filter inside the vacuum , then vacuum up dust by use of a feel - fathom vacuum bond .
Sweep across the flooring strips to take away any dust and powder that might have settled between the boards .
6. Sand the edges and corners
Using a sand edger , start by sandpaper all the closet floor , edges , and orbit that are hard to reach on your floors . secure you use a like ground level with the edger as that of the drum sander .
Work your way up to the smoother sandpaper repeatedly , and do not forget to sail between the backbone .
commemorate to cover you ’re your mouth and nozzle with a respirator that contains organic vapour canisters and have your place on .
7. Screen the sand
At this point , it may look like too much sanding , but just keep move . By the time you are done , your floor will look young and sparkling blank .
Use a floor buffer to make everything even by flattening any bumpiness brought about by the edger and swot up smoother . This buffer also removes bread , making the level appear legato .
8. Remove dust
Do the sweeping and vacuuming again using a tack cloth . This will warrant you a rubble - free level before doing stain program and flooring finishing .
9. Stain the floors
It is advisable to sully your trading floor strike towards the wood grain . As you go on with the process , pass over aside any excess stain using a tag end .
10. Finish the floors
This is the terminal dance step .
insure the stain dry first before you apply the Ellen Price Wood finish . I would recommend an oil - based polyurethane wood finish because it dry out slowly , thus enabling you to spread over up for any mistake . you may also choose to use water - base polyurethane .
None is big than the other . It all depend on your preference .
The difference between the two polyurethane is that water - based ones will be cloudy and dry clear-cut , while crude oil - based ones will impress an amber or jaundiced color . So everyone will go for their preference .
When it comes to app , both product have reward and disadvantages . water system - establish polyurethane are thin and dry out quick .
However , the fact that they dry out quicker makes it knockout for one to correct any unevenness . On the other hand , fossil oil - base polyurethanes have proficient longevity but expect protective wear , for instance , masks due to fumes . They also take up to 24 hours to dry out .
employ a lambswool applicator to apply the finish , and apply sand lightly on the floors when the finish dries . This give the best issue and voila ! There you have your refinish storey .
Pro Tip : If you choose to use fossil oil - based polyurethanes , ensure you altogether dry out the used rag . This is because the natural oxidation that occur as oils evaporate from the rags can cause fervor in good experimental condition .
Caution: Your Health and Safety
Another power point to note in these steps to refinish hardwood floors is that your refuge comes first . Use a dust masquerade whenever you are refinishing your floor .
Also , cover your mouth with a gasmask and expend protective shoes and gloves .
Frequently Asked Questions
How long does it take to refinish hardwood floors?
It depends on several factors such as the humidness stratum , shape of the wood , for case , availability of grime , and how saturnine those stains are . The other of import factor is how many coats of polyurethane you ’re intending to use .
Considering all these factor , it can take about 2 – 6 days to complete refinish your hardwood floors with an oil - establish polyurethane wood finish , which run to dry out relatively fast .
What is the difference between resurfacing and refinishing hardwood floors?
Most hoi polloi use these two terms interchangeably to think the same thing , which is wrong . Resurfacing is quite dissimilar from refinish the floors .
Refinishing is quite prosperous , and you could comfortably do it yourself . It involves sandpaper off the top bed of the story and adding a fresh top pelage over the live wood , as explain in this clause .
Resurfacing , on the other hand , requires a morsel of investment both in time and pecuniary resource . This is because it involves more than just putting a level of polish on top . It may require remove previous floorboards , grinding down mismatched boards , and reinforcing Grant Wood planks with new nail .
So , how do you decide which one is suitable for you ? look into outthis article .
How long should you stay off hardwood floors after refinishing?
For the best results , give it at least 2 to 3 days . However , this sentence depends on the prevail atmospheric condition conditions . If it ’s humid , the floors may take longer to dry out and vice versa .
Conclusion
Refinishing your hardwood story is well-situated and gaudy than you imagine . It ’s now time to block occupy about supervene upon your hardwood floors that have had better daytime and are now looking tired .
These simple steps for refinishing hardwood flooring will help you do away with your worry . Though time - consuming , you will notice that it is a uncomplicated DIY process .
get your floor radiate like new .
